Introduction to Version Control
Challenge 3
DVS-3: I show creativity in my visualizations
- Exploring different color themes
- Here is an incredible resource with extensive color themes: https://emilhvitfeldt.github.io/r-color-palettes/discrete.html
- paletter – multiple color palette packages in one place


Git vs GitHub
![]()
- A system for version control that manages a collection of files in a structured way.
- Uses the command line or a GUI.
- Git is local.
- A cloud-based service that lets you use git across many computers.
- Basic services are free, advanced services are paid (like RStudio!).
- GitHub is remote.
Git Repositories
Git is based on repositories.
- Think of a repository (repo) as a directory (folder) for a single project.
- This directory will likely contain code, documentation, data, to do lists, etc. associated with the project.
Forking a Repo
Make your own copy of a project.
- The original repository is like the main version of a project.
- When you fork it, you make your own copy of that project under your own account.
- You can freely make changes, test ideas, or add new features in your fork.
- The original project stays untouched.

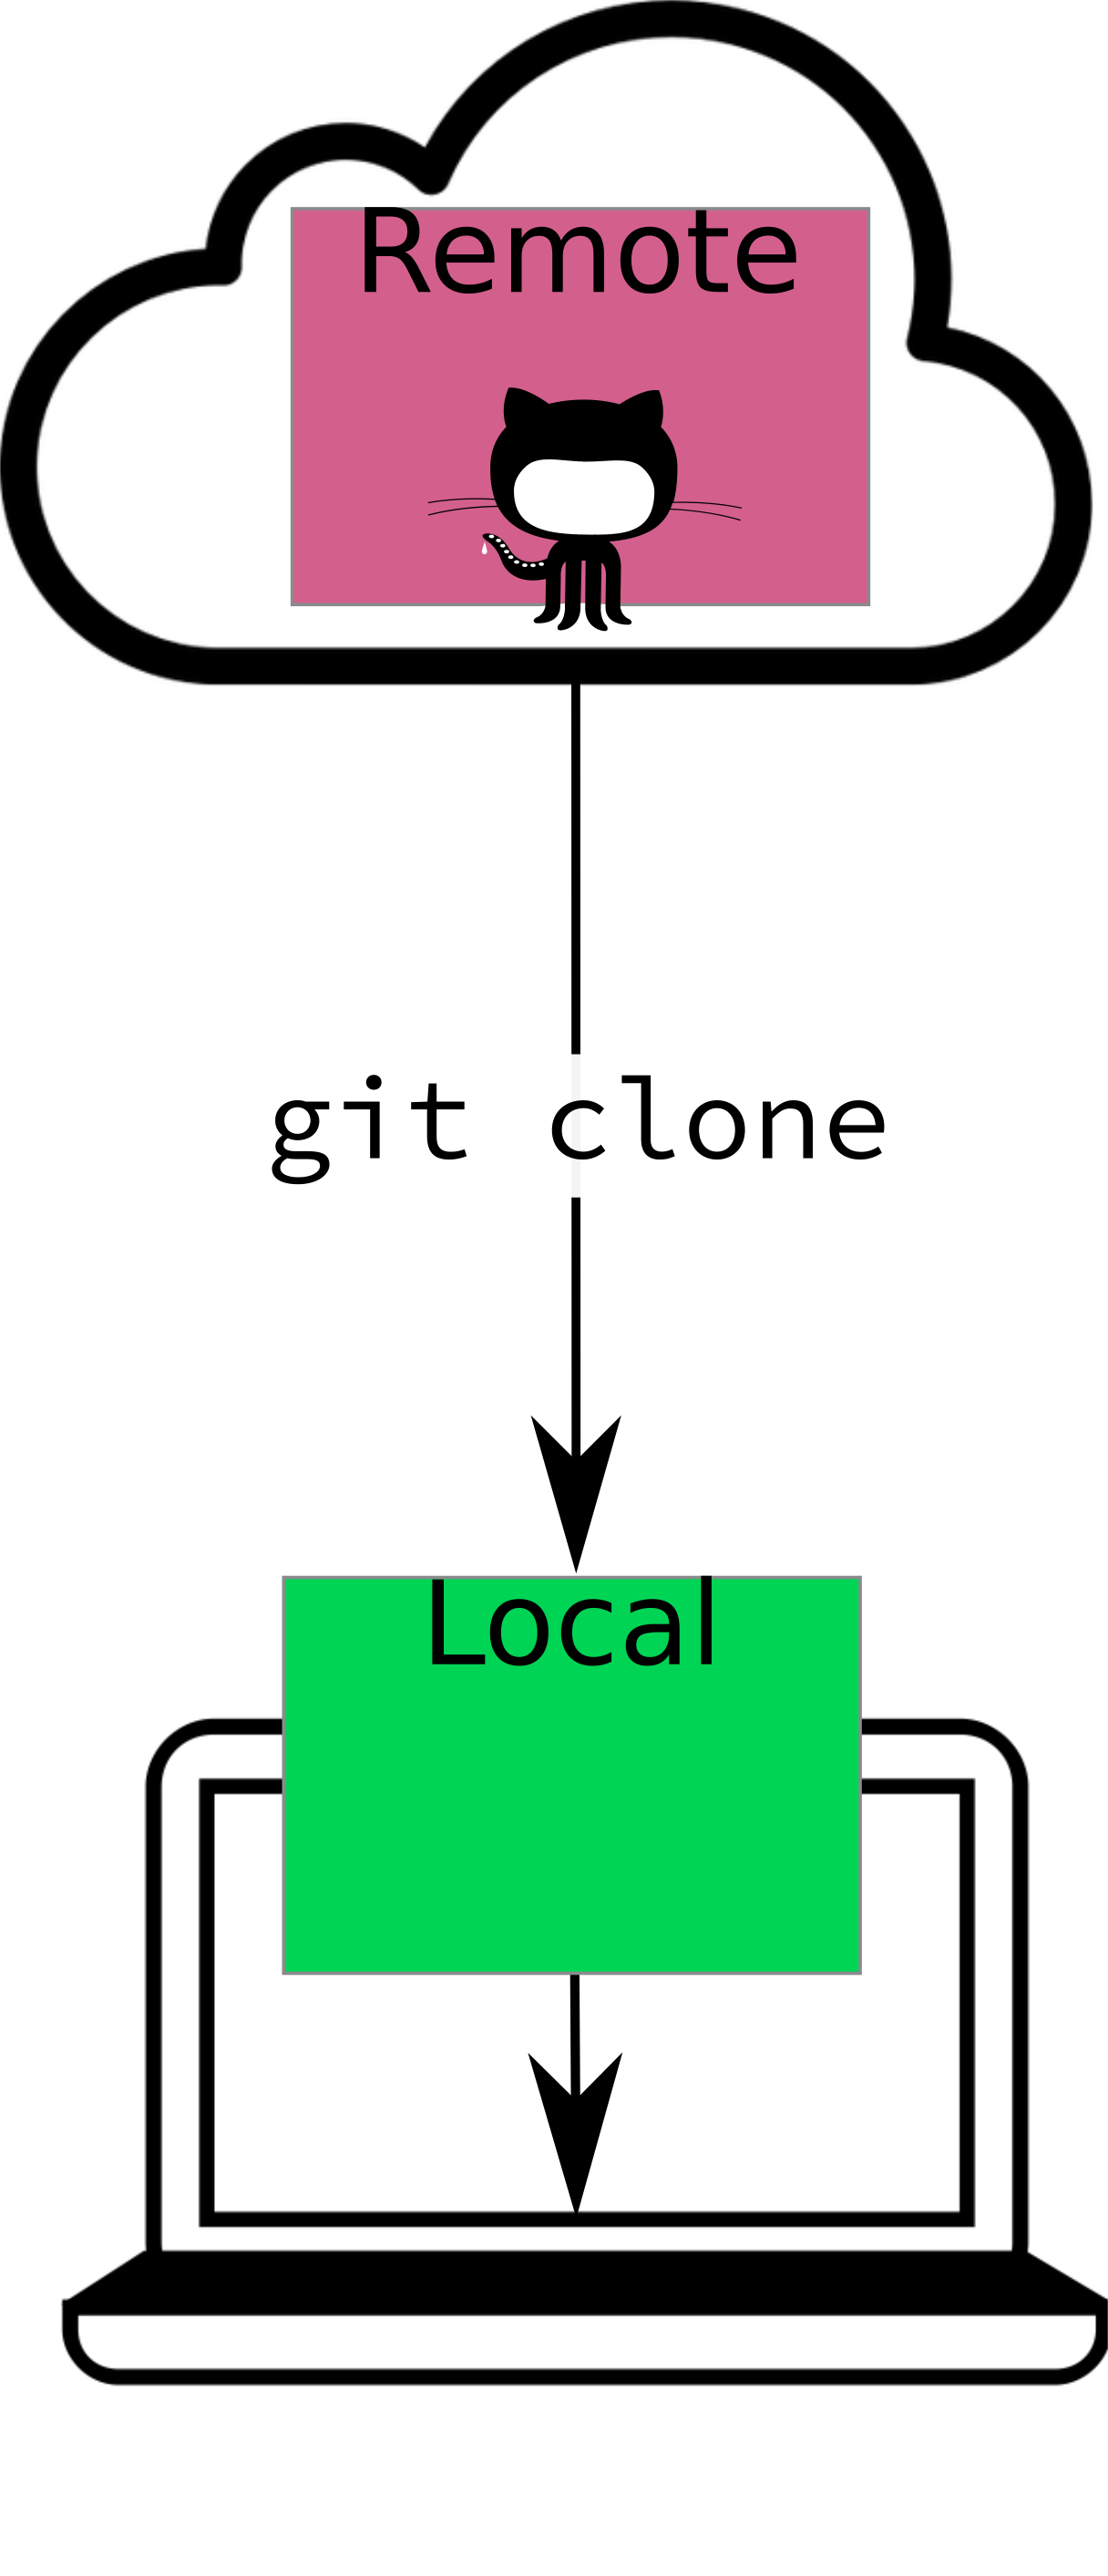
Cloning a Repo
Download the project onto your computer.
- A repository (repo) lives online.
- When you clone it, you make a local copy on your computer.
- All the project files, history, and branches come with it.
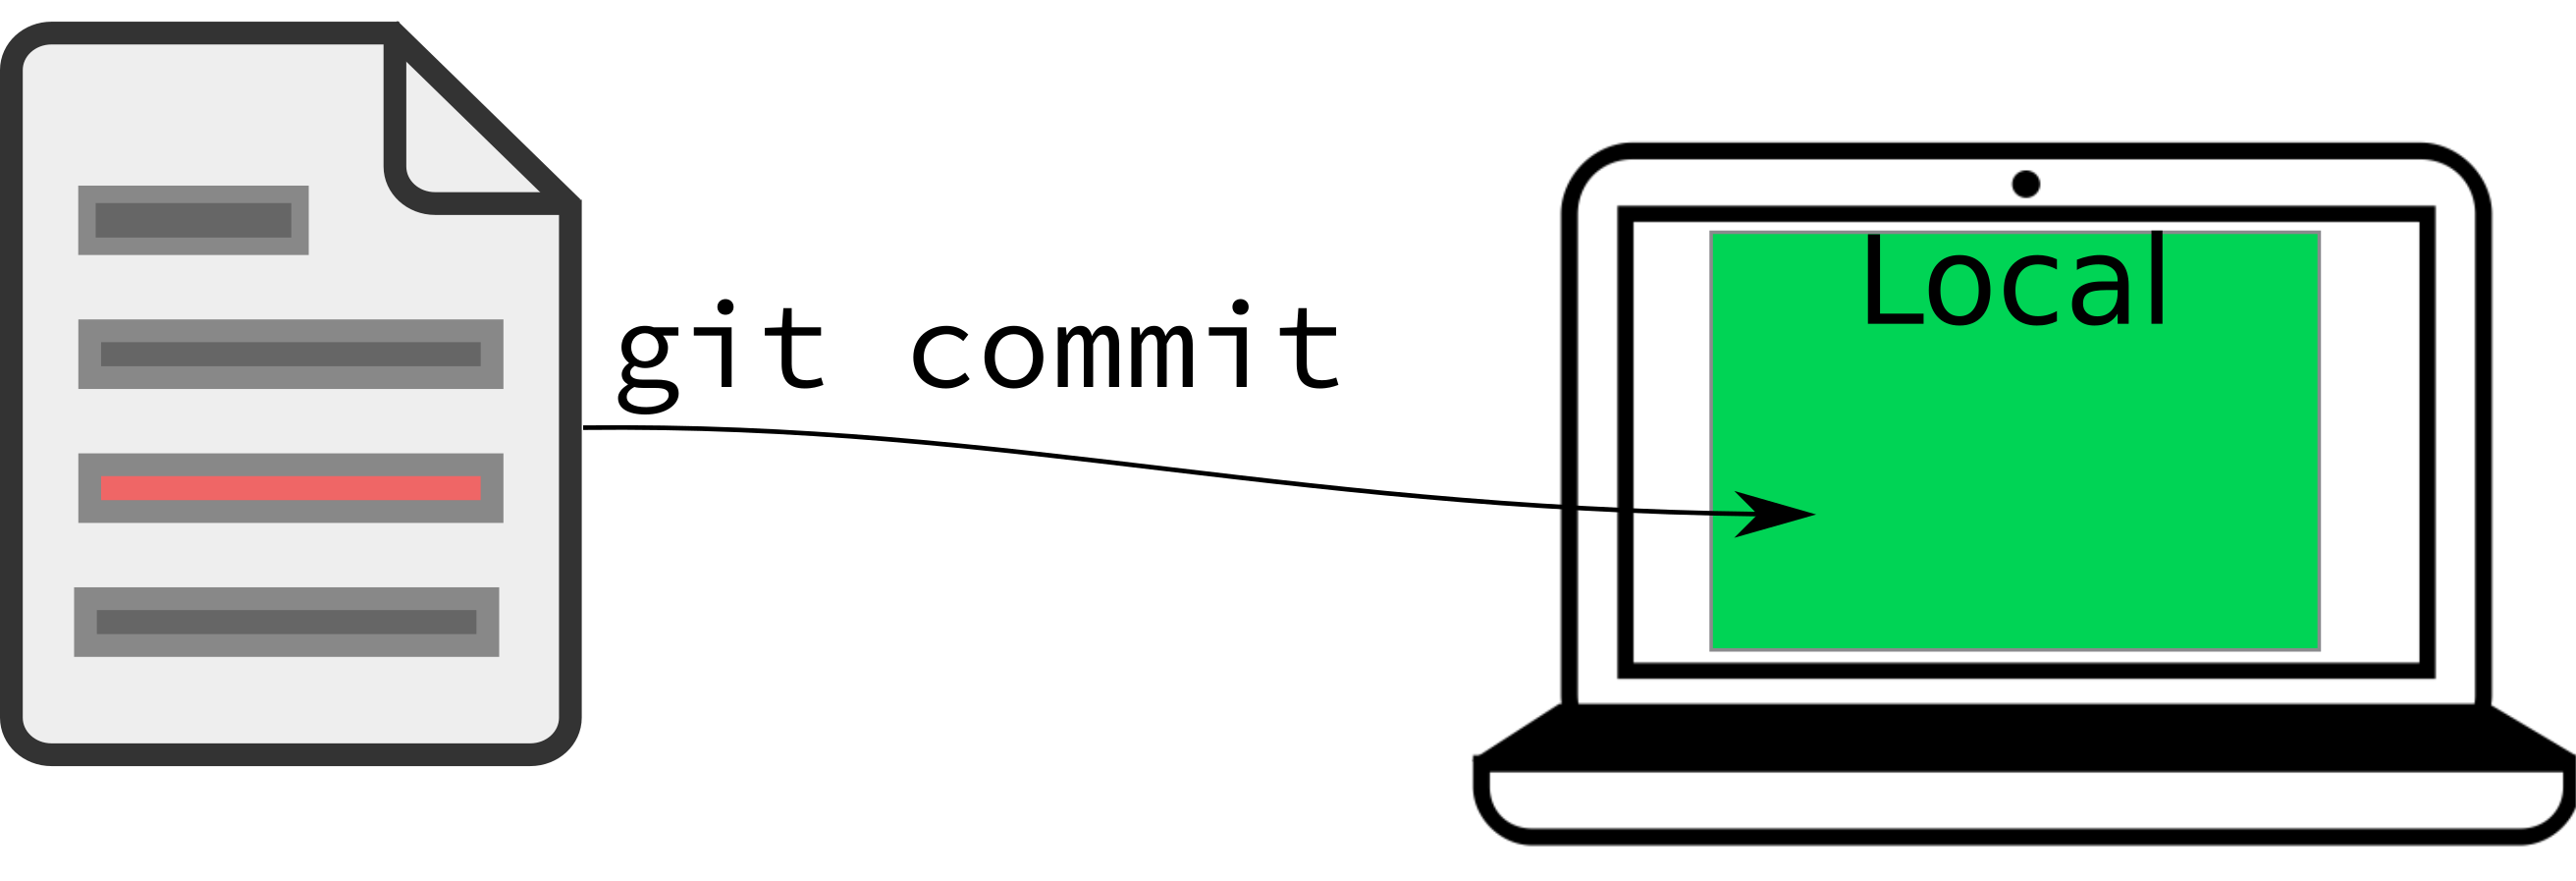
Committing Changes
Record any changes you’ve made.
- Whenever you make changes you can “commit” those changes to record them permanently in your project’s history.
- You also provide a commit message – describing what changes you made.
- The log of these changes is called your commit history.
- You can always go back to old copies!
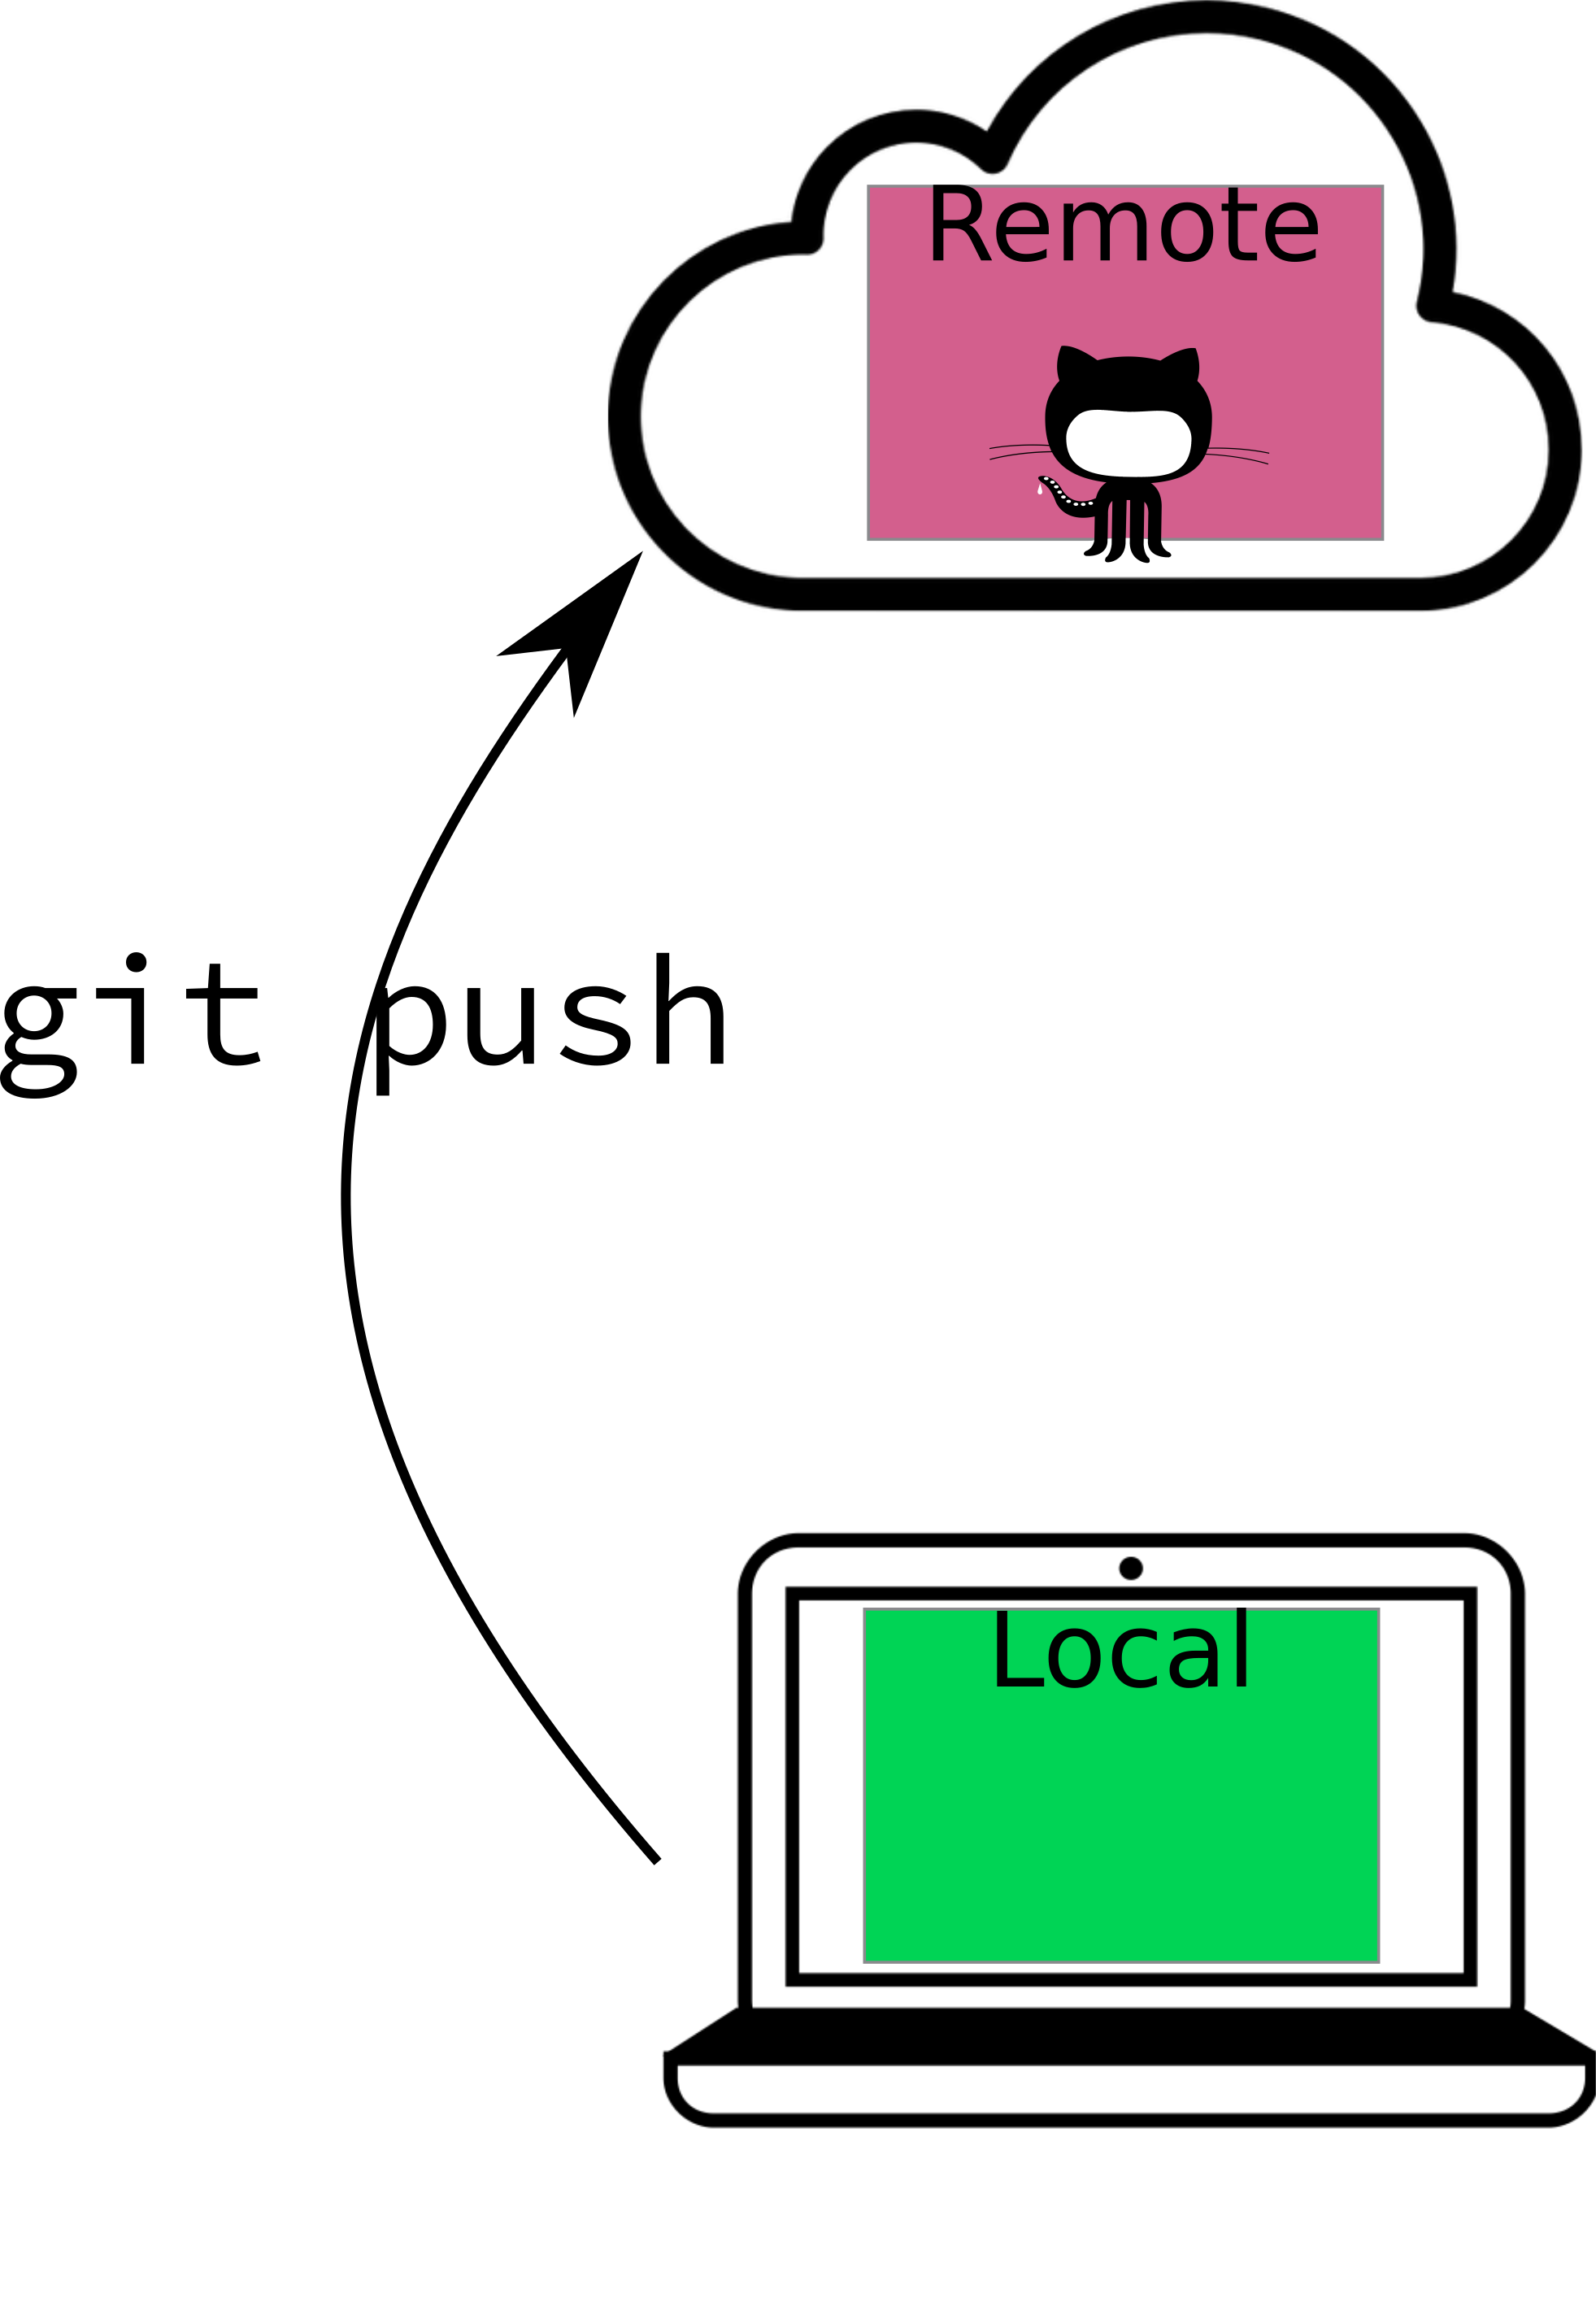
Pushing Changes
Send your commit to the remote repository so others can see and access them.
- Send the changes you’ve saved in your commit to GitHub.
- No one else can see the changes you’ve made locally unless you push them!
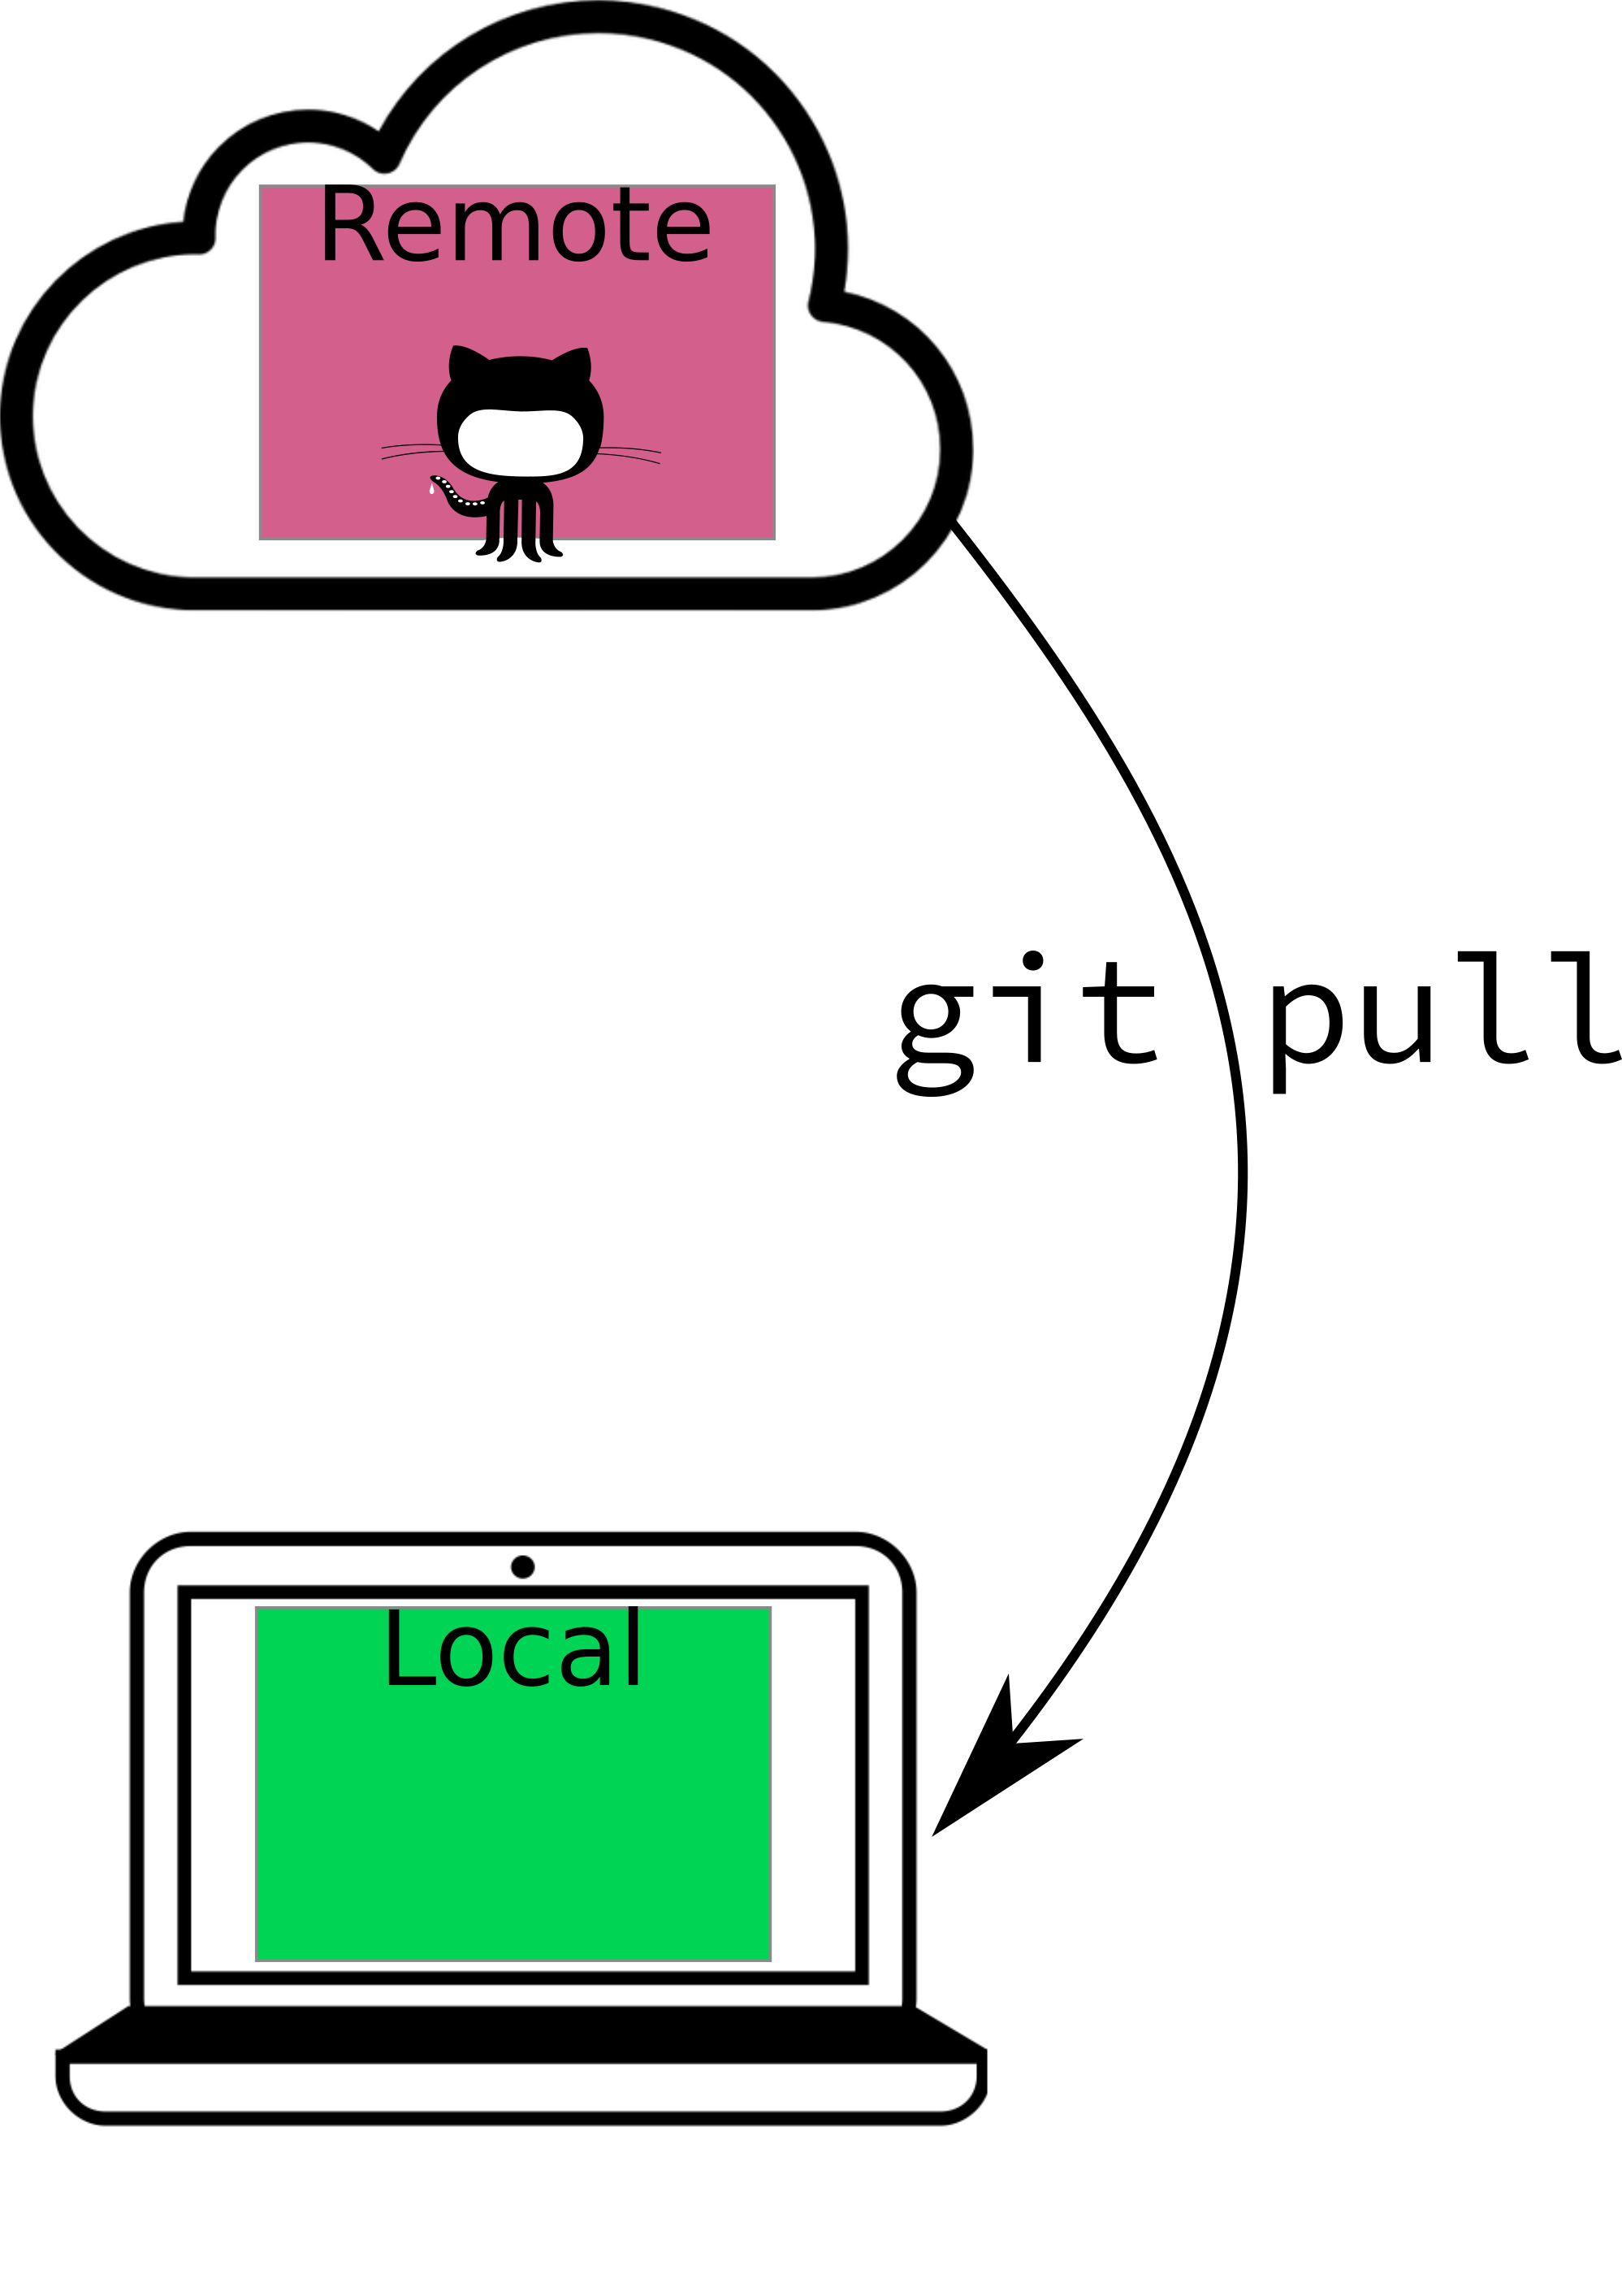
Pulling Changes
Download the latest changes from the remote repository into your local copy.
- Your updates are saved online when you commit and push.
- To see those new edits in your offline copy, you have to pull them down.
Only relevant if you are working on two computers!
If this is you, keeping both local versions up to date will be important!